Project Creation and Setup
Initial steps to create and set up the static site with blog using NextJS, React with Radix UI and Shadcn UI.
Creating a new project with create-next-app
We use the command line to create the NextJS project:
% npx create-next-app@latest static-nextjsThe interactive tool asks us several questions and then create the application:
✔ Would you like to use TypeScript? … No / Yes
✔ Would you like to use ESLint? … No / Yes
✔ Would you like to use Tailwind CSS? … No / Yes
✔ Would you like to use `src/` directory? … No / Yes
✔ Would you like to use App Router? (recommended) … No / Yes
✔ Would you like to customize the default import alias (@/*)? … No / Yes
Creating a new Next.js app in /private/var/prj/static-nextjs.

Using npm.

Initializing project with template: app-tw


Installing dependencies:
- react
- react-dom
- next

Installing devDependencies:
- typescript
- @types/node
- @types/react
- @types/react-dom
- postcss
- tailwindcss
- eslint
- eslint-config-next

npm warn deprecated [email protected]: This module is not supported, and leaks memory. Do not use it. Check out lru-cache if you want a good and tested way to coalesce async requests by a key value, which is much more comprehensive and powerful.
npm warn deprecated @humanwhocodes/[email protected]: Use @eslint/config-array instead
npm warn deprecated [email protected]: Rimraf versions prior to v4 are no longer supported
npm warn deprecated @humanwhocodes/[email protected]: Use @eslint/object-schema instead
npm warn deprecated [email protected]: Glob versions prior to v9 are no longer supported

added 361 packages, and audited 362 packages in 14s

137 packages are looking for funding
  run `npm fund` for details

found 0 vulnerabilities
Initialized a git repository.

Success! Created static-nextjs at /private/var/prj/static-nextjs
As a result, the following files and directories are created for our project.
├── README.md
├── next-env.d.ts
├── next.config.mjs
├── package-lock.json
├── package.json
├── postcss.config.mjs
├── public
│   ├── next.svg
│   └── vercel.svg
├── src
│   └── app
│       ├── favicon.ico
│       ├── globals.css
│       ├── layout.tsx
│       └── page.tsx
├── tailwind.config.ts
└── tsconfig.json
Setting Up Shadcn-UI
We enter the directory of the project to continue the setup:
% cd static-nextjs% npx shadcn-ui@latest init✔ Which style would you like to use? › Default
✔ Which color would you like to use as base color? › Slate
✔ Would you like to use CSS variables for colors? … no / yes
✔ Writing components.json...
✔ Initializing project...
✔ Installing dependencies...
Success! Project initialization completed. You may now add components.The installation adds the basic prerequisites for Shadcn UI:
├── README.md
├── components.json
├── next-env.d.ts
├── next.config.mjs
├── package-lock.json
├── package.json
├── postcss.config.mjs
├── public
│   ├── next.svg
│   └── vercel.svg
├── src
│   ├── app
│   │   ├── favicon.ico
│   │   ├── globals.css
│   │   ├── layout.tsx
│   │   └── page.tsx
│   ├── components
│   └── lib
│       └── utils.ts
├── tailwind.config.ts
└── tsconfig.json
At this point we can run the application:
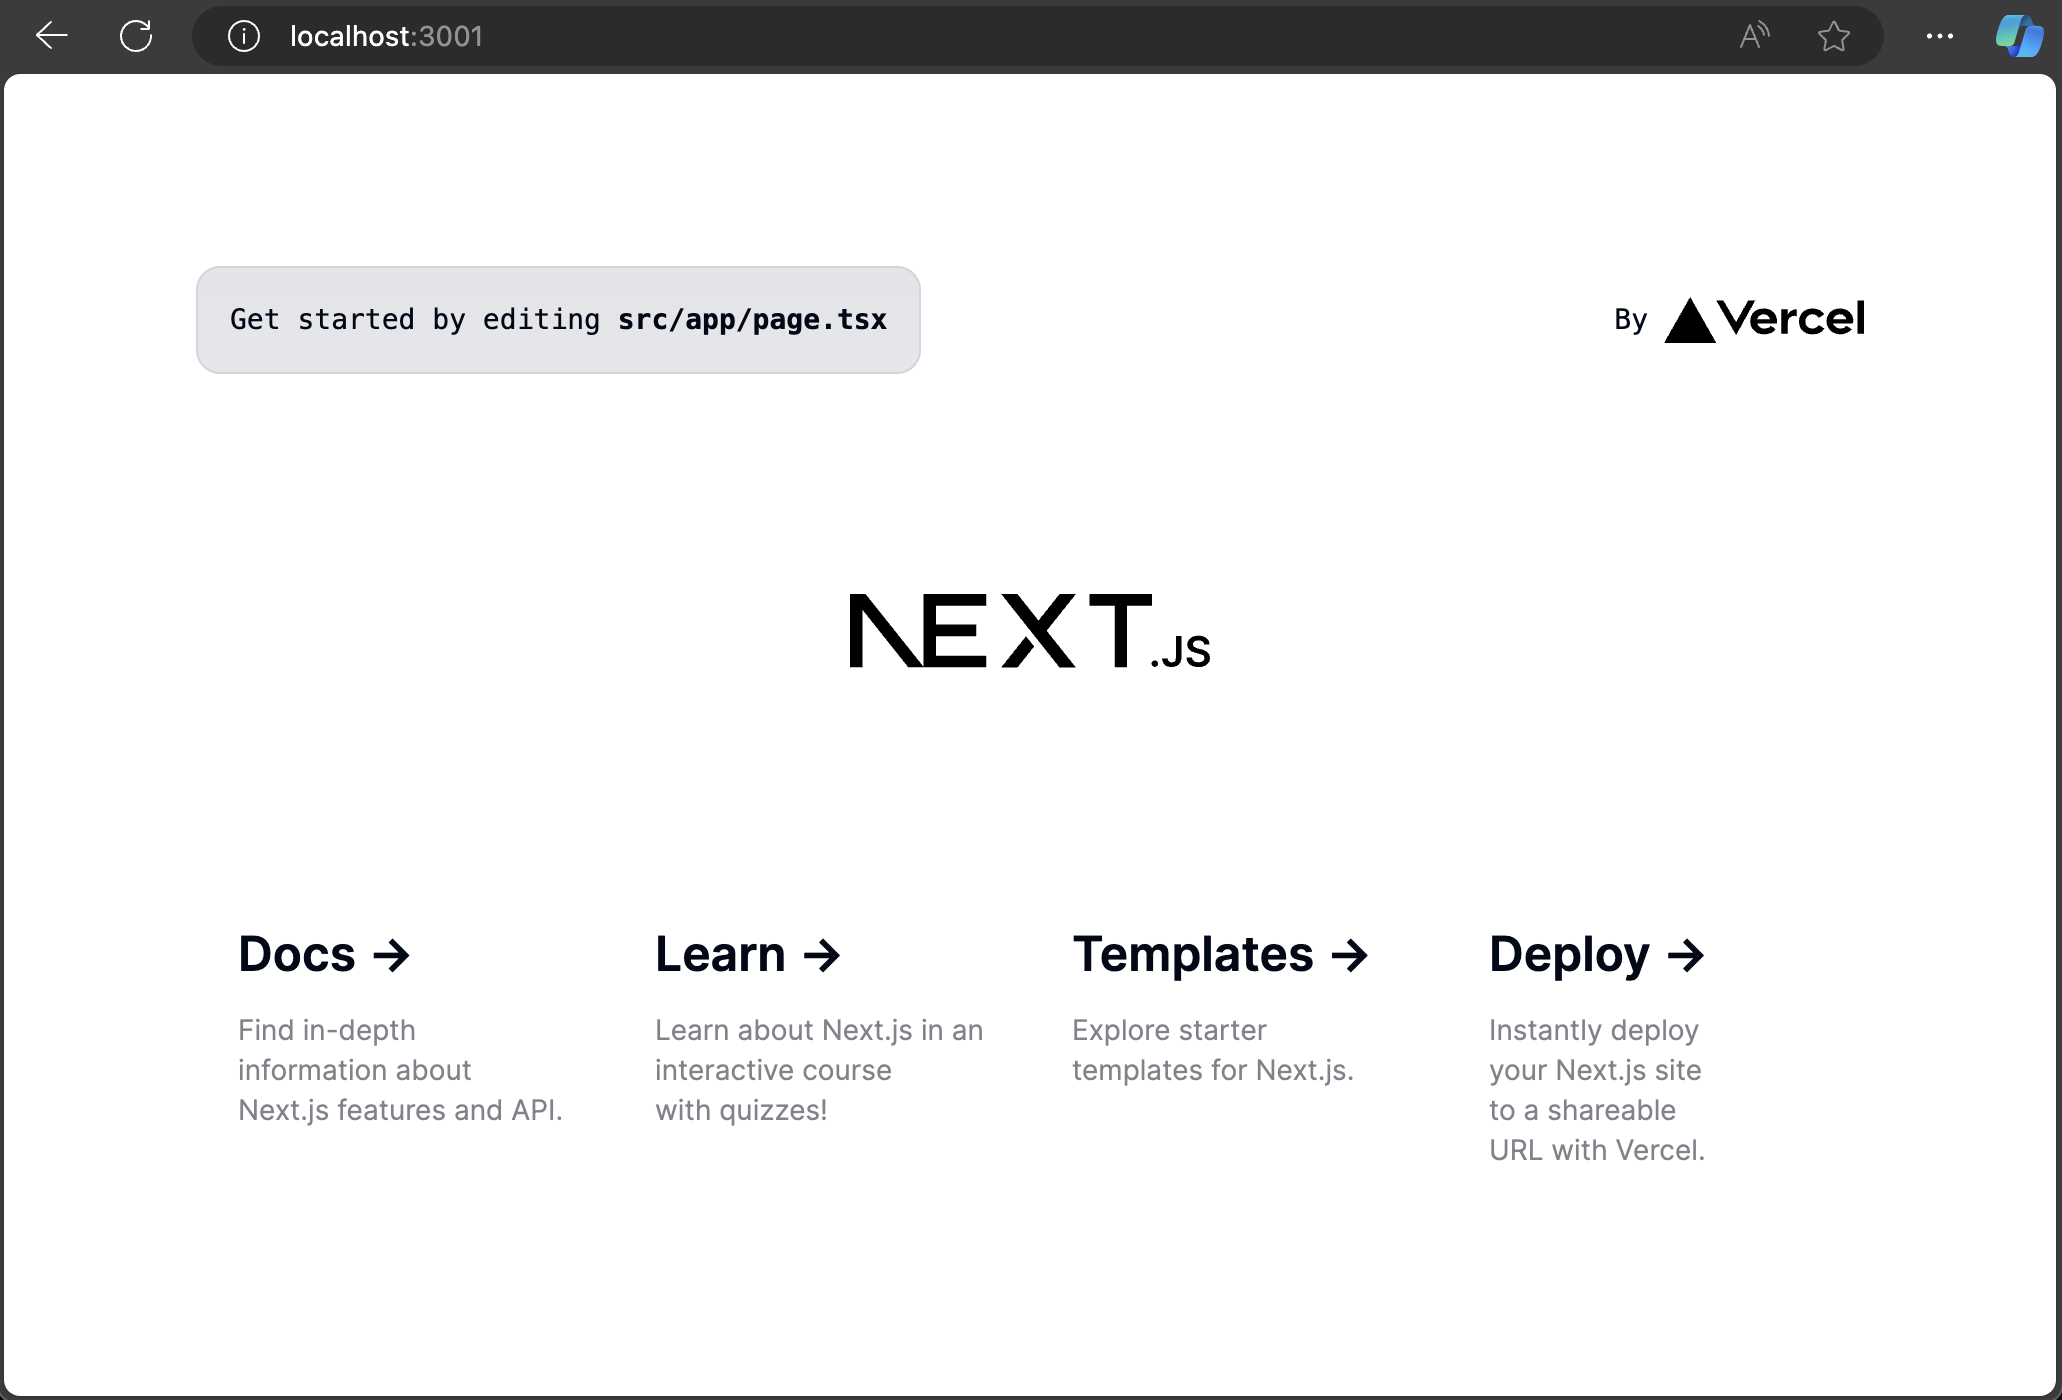
% npm run devIn the example here the application is running on port 3001 since the port 3000 is taken.
> [email protected] dev
> next dev

 ⚠ Port 3000 is in use, trying 3001 instead.
  ▲ Next.js 14.2.4
  - Local:        http://localhost:3001

 ✓ Starting...
 ✓ Ready in 2.1s
The output can be seen in the browser:

Next: Configuring NextJS to Create a Static Site
Last Updated: